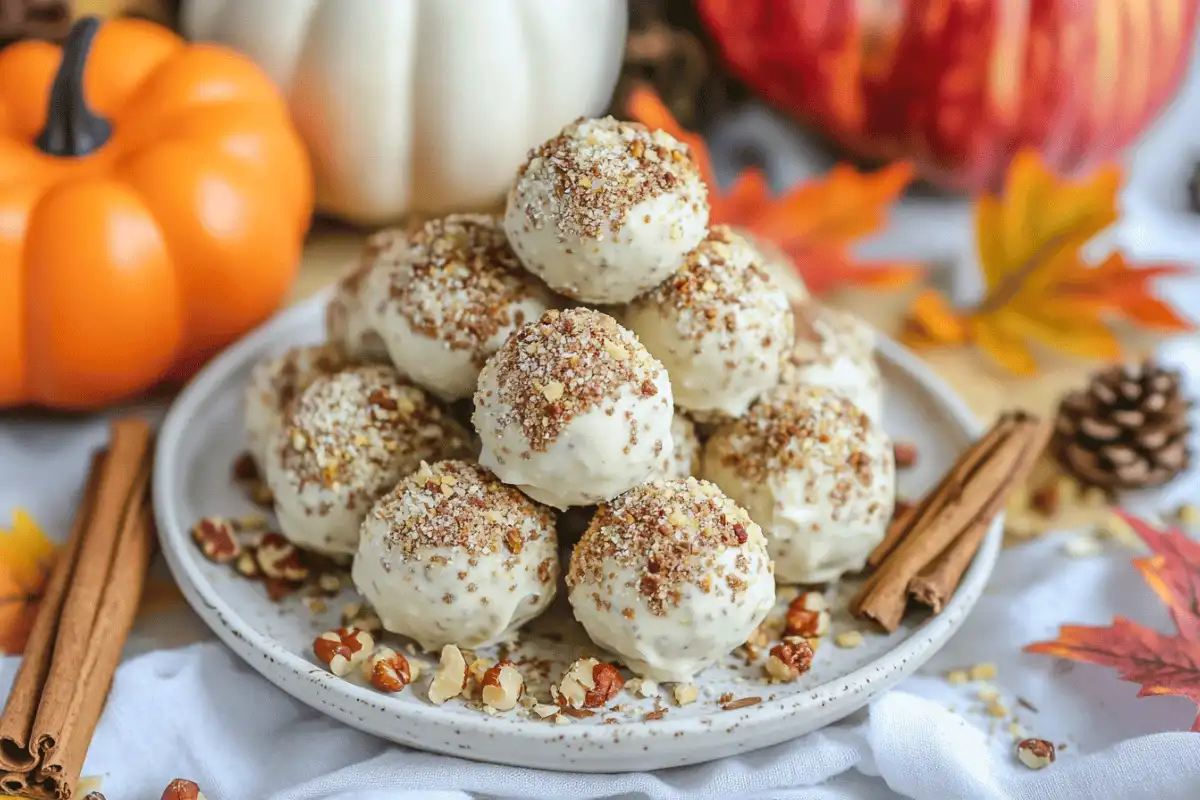
Picture this: a cozy fall evening, a craving for something sweet, and the delightful anticipation of a treat that requires zero baking. That’s precisely what these No-Bake Pumpkin Cheesecake Balls are all about! They’re little bites of creamy, spiced heaven, and I can promise they’ll be a new go-to for a sweet fall treat.
What makes no-bake pumpkin cheesecake balls so special is their simplicity. With just a few ingredients and minimal effort, you can create a crowd-pleasing dessert in no time. Plus, the recipe is highly versatile, allowing you to customize it with your favorite coatings, toppings, or dietary preferences.
In this article, we’ll guide you through everything you need to know about no-bake pumpkin cheesecake balls. From the essential ingredients to step-by-step instructions and creative variations, you’ll learn how to make these delicious treats your new fall favorite.
What Makes No-Bake Pumpkin Cheesecake Balls Unique?
No-bake pumpkin cheesecake balls are a delightful combination of creamy textures and warm fall flavors. These bite-sized treats are easy to prepare, making them perfect for busy autumn days. Whether you’re hosting a party, contributing to a potluck, or enjoying a cozy evening at home, these cheesecake balls fit any occasion.
One of the best things about these no-bake desserts is their simplicity. With no need to turn on an oven, they save time and energy, especially during the hectic holiday season. Additionally, their small size makes them a crowd-pleaser, offering the perfect balance of sweetness and spice.
For another delightful fall-inspired dessert, check out this Pumpkin Swirl Cheesecake for a rich and creamy alternative.
Ingredients and Their Role
Every ingredient in this recipe plays a unique part in creating its irresistible taste and texture. Here’s what makes these ingredients essential:
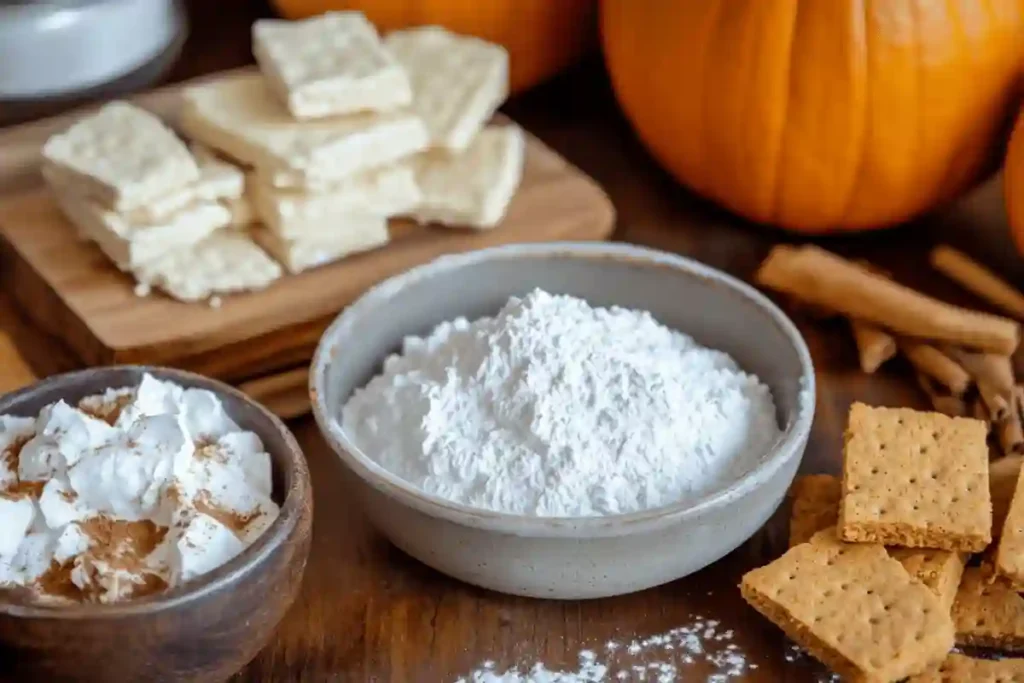
- Cream cheese: The base ingredient gives these balls their rich, creamy texture and signature cheesecake flavor.
- Pumpkin puree: This star ingredient adds a smooth consistency and natural sweetness while capturing the essence of fall.
- Graham crackers: Crushed graham crackers bring a crumbly texture that holds the mixture together beautifully.
- Pumpkin spice blend: A mix of cinnamon, nutmeg, and cloves gives the balls a warm, comforting flavor.
- Powdered sugar: This adds just the right amount of sweetness without making the dessert overly heavy.
Why No Baking?
No-bake desserts have become increasingly popular, and for good reason. They’re perfect for those who don’t have an oven or prefer to keep cooking time to a minimum. The no-bake method also locks in freshness, ensuring every bite is creamy and moist.
Moreover, this method is ideal for seasonal gatherings when the oven is already busy with other dishes. With minimal effort and maximum flavor, no-bake pumpkin cheesecake balls allow you to enjoy a delicious homemade dessert without the stress of traditional baking.
Step-by-Step Recipe Guide
Making no-bake pumpkin cheesecake balls is simple and requires only a few basic steps. This recipe is perfect for busy days or when you need a quick dessert for an event. Below is a detailed guide to ensure your cheesecake balls turn out perfectly every time.
Ingredients List
To create these delicious treats, gather the following ingredients:
- 8 oz cream cheese (softened to room temperature)
- 1 cup pumpkin puree (ensure it’s pure pumpkin and not pumpkin pie filling)
- 1 cup powdered sugar
- 1 teaspoon pumpkin spice
- 1 teaspoon vanilla extract
- 1½ cups crushed graham crackers
- Optional toppings: melted chocolate, chopped nuts, or shredded coconut
For a gluten-free version, substitute the graham crackers with gluten-free cookies.
Instructions
- Prepare the Cheesecake Mixture
In a large bowl, beat the softened cream cheese until it becomes smooth and creamy. Add the pumpkin puree, powdered sugar, pumpkin spice, and vanilla extract. Mix until all the ingredients are fully combined. - Incorporate the Graham Crackers
Stir in the crushed graham crackers. They add texture and help bind the mixture. If the mixture feels too soft, add a bit more crushed crackers until it thickens to the desired consistency. - Chill the Mixture
Cover the bowl with plastic wrap and refrigerate it for at least 1–2 hours. Chilling helps the mixture firm up, making it easier to shape. - Shape the Balls
Once the mixture is firm, use a spoon or cookie scoop to form small balls, about 1 inch in diameter. Place them on a baking sheet lined with parchment paper. - Add Optional Coatings
For a decorative touch, dip each ball into melted chocolate or roll them in chopped nuts, shredded coconut, or crushed graham crackers. For tips on melting chocolate, visit this guide. - Chill Again Before Serving
After shaping and coating, refrigerate the balls for an additional 30 minutes to an hour. This step ensures they hold their shape and enhances their flavor.
Common Mistakes to Avoid
While this recipe is straightforward, some common pitfalls can occur:
- Over-softened Cream Cheese: Make sure the cream cheese isn’t too warm, as this can make the mixture too runny.
- Insufficient Chilling Time: If the mixture doesn’t chill long enough, it may be too soft to shape into balls.
- Overpowering Spices: Use pumpkin spice sparingly to avoid an overwhelming flavor. Start with 1 teaspoon and adjust to taste.
By following these steps and tips, you’ll have perfectly formed no-bake pumpkin cheesecake balls ready to enjoy in no time!
Creative Twists on No-Bake Pumpkin Cheesecake Balls
One of the best things about no-bake pumpkin cheesecake balls is how versatile they are. With just a few tweaks, you can elevate this simple recipe into something truly unique. From flavor enhancements to dietary adjustments, the possibilities are endless.
Flavor Enhancements
Adding a twist to the classic recipe is easy and fun. Here are a few ideas to inspire you:
- Gingersnap Crumbs: Swap the graham crackers for crushed gingersnaps to create a spicier, more intense flavor.
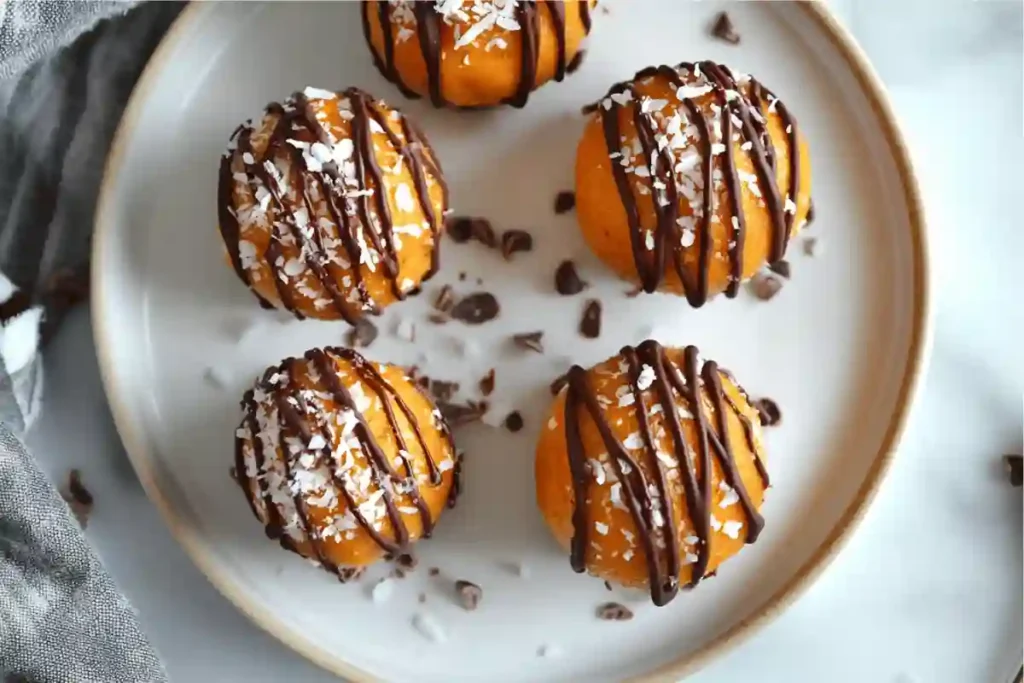
- Chocolate Drizzle: Melt white or dark chocolate and drizzle it over the cheesecake balls for an elegant touch.
- Caramel Coating: Roll the balls in a thin layer of caramel sauce before adding your favorite topping, like crushed nuts or coconut.
These small changes can take your cheesecake balls to the next level, making them a standout treat at any gathering.
Dietary Adjustments
Whether you’re making these for guests with dietary restrictions or looking for a healthier option, there are plenty of ways to modify the recipe without compromising flavor.
- Low-Sugar Version: Reduce the powdered sugar to half a cup or use a sugar substitute like stevia or monk fruit for sweetness.
- Gluten-Free Option: Use gluten-free graham crackers or substitute them with crushed nuts or gluten-free cookies.
- Vegan Alternative: Replace the cream cheese with a plant-based version and use a dairy-free sweetener. The texture may be slightly softer, so add extra crushed graham crackers if needed.
Presentation Tips
How you present your no-bake pumpkin cheesecake balls can make them even more appealing. Here are some creative serving ideas:
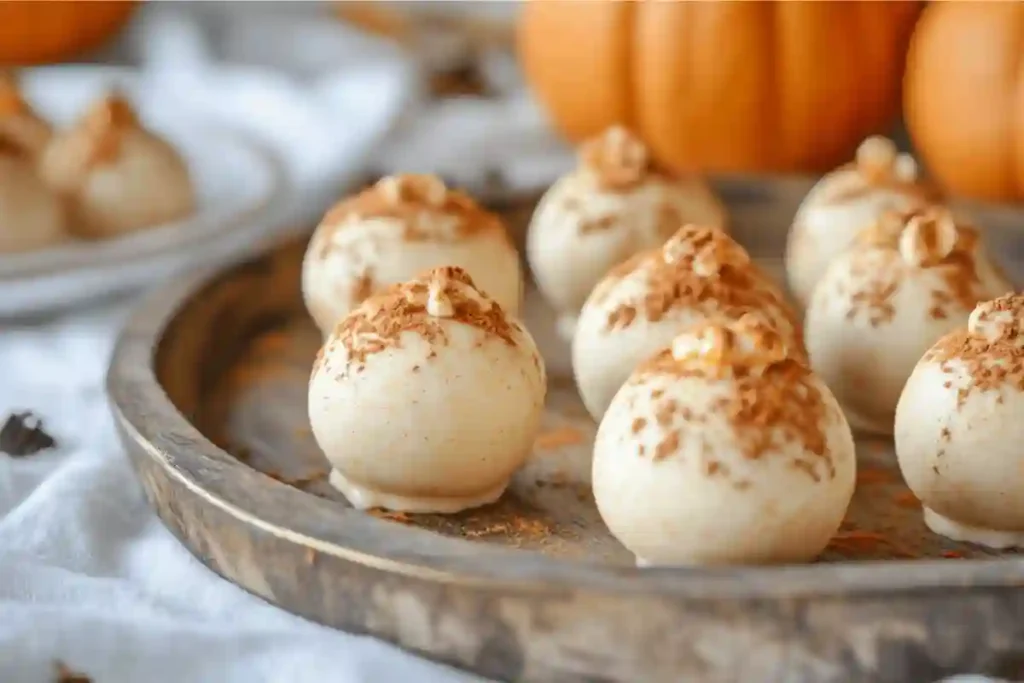
- Rustic Display: Arrange the balls on a wooden serving board, sprinkled with extra graham cracker crumbs for a rustic fall vibe.
- Mini Cupcake Liners: Place each ball in a mini cupcake liner for easy handling and a pop of color.
- Seasonal Toothpicks: Use decorative toothpicks featuring pumpkins, leaves, or autumn-themed designs to add a festive touch.
By adding these simple details, you can create a dessert that looks as good as it tastes.
Storing No-Bake Pumpkin Cheesecake Balls and Serving Tips
Proper storage is key to keeping your no-bake pumpkin cheesecake balls fresh and delicious. Fortunately, these treats are as easy to store as they are to make, making them perfect for advance preparation.
Short-Term Storage
If you’re planning to serve the cheesecake balls within a few days, keep them in an airtight container in the refrigerator. This prevents them from drying out or absorbing odors from other foods. They’ll stay fresh for up to 3–4 days. To avoid sticking, place parchment paper between layers if you’re stacking them.
Long-Term Storage
For longer storage, no-bake pumpkin cheesecake balls can be frozen. Here’s how:
- Arrange the balls in a single layer on a baking sheet lined with parchment paper.
- Place the tray in the freezer for about an hour until the balls are firm.
- Transfer them to a freezer-safe container or zip-lock bag, separating layers with parchment paper.
These frozen cheesecake balls can be stored for up to a month. When ready to serve, thaw them in the refrigerator for a few hours to regain their creamy texture.
Best Ways to Serve
Presentation and pairing can elevate your dessert to the next level. Here are some ideas for serving your no-bake pumpkin cheesecake balls with flair:
- Pairing with Drinks: Serve alongside warm beverages like spiced chai, cinnamon tea, or pumpkin spice lattes. For a festive touch, pair them with sparkling apple cider or hot cocoa.
- Platter Display: Arrange the cheesecake balls on a decorative platter, sprinkled with crushed graham crackers or cinnamon for a rustic autumn look.
- Themed Events: Use fall-inspired decor, such as mini pumpkins or colorful leaves, to enhance the presentation.
Make-Ahead Instructions
These cheesecake balls are a lifesaver for busy schedules. You can prepare them 1–2 days in advance and store them in the fridge until it’s time to serve. If you’ve frozen a batch, thaw them overnight in the refrigerator for the best results.
By planning ahead, you can focus on other details of your event while knowing that dessert is ready to impress.
FAQs
Here are answers to some common questions about no-bake pumpkin cheesecake balls. Whether you’re troubleshooting or curious about customization, these tips will help you perfect the recipe.
Can I use canned pumpkin instead of fresh?
Absolutely! Canned pumpkin is a convenient option and works perfectly in this recipe. Just ensure you’re using pure pumpkin puree, not pumpkin pie filling. Pumpkin pie filling contains added sugar and spices that can affect the taste and texture of your cheesecake balls.
How far in advance can I make these cheesecake balls?
You can prepare these treats 2–3 days in advance and store them in the refrigerator in an airtight container. For even longer storage, you can freeze them for up to a month. Thaw them in the fridge for a few hours before serving to ensure they maintain their creamy texture.
Can I freeze the cheesecake balls?
Yes, no-bake pumpkin cheesecake balls freeze beautifully. Follow these steps for the best results:
- Place them on a parchment-lined tray in the freezer until firm.
- Transfer to a freezer-safe container or zip-lock bag, layering with parchment paper to prevent sticking.
- Freeze for up to one month.
Thaw in the refrigerator before serving for optimal taste and texture.
What if the mixture is too soft to shape?
If the mixture feels too soft, it likely needs more chilling time. Place the bowl in the refrigerator for an additional 30–60 minutes. If it’s still too soft after chilling, mix in a small amount of crushed graham crackers until it firms up enough to shape.
Can I make these without graham crackers?
Yes! If you prefer an alternative to graham crackers, try crushed gingersnaps, digestive biscuits, or even finely chopped nuts for added texture and flavor. Gluten-free cookies or almond flour cookies are also great substitutes for those with dietary restrictions.
How do I ensure the flavor isn’t overpowering?
To avoid overpowering the pumpkin spice flavor, start with 1 teaspoon and adjust to taste. Pumpkin spice blends can vary in intensity, so adding a little at a time ensures the perfect balance. If you accidentally add too much, try adding a small amount of cream cheese or powdered sugar to dilute the spice.
2 thoughts on “Irresistible No-Bake Pumpkin Cheesecake Balls Recipe”